
Accessing the Roster
To access the Roster page:
-
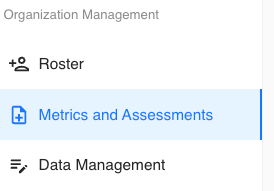
From the left-hand sidebar, navigate to Organization Management
-
Click Roster
Filtering Your Roster
At the top of the page is the filter bar. These filters allow you to quickly narrow your roster to the athletes you want to view.
Available filters include:
-
Name, Teams, Groups, Gender, Class Year, Active/Inactive, Age Range
The roster table automatically updates as filters are applied.

Understanding the Roster Table
Each athlete appears as a row within the roster table.
The available columns include:
-
Name, Teams, Groups, Gender, Class Year, Birth Date, Athlete Access, Parent Access, Active Status, Edit (Pencil), More Options (Ellipsis)

Adding an Athlete
To manually add a new athlete:
-
Click Add Person in the upper-right corner.
-
Complete the athlete information.
-
Click Save.
Required Fields
-
First Name
-
Last Name
-
Team
Optional Fields
-
Groups, Class Year, Birth Date, Gender, Email Address
For a complete walkthrough of manually adding athletes, see the Manually Adding an Athlete knowledge base article.
Selecting Athletes
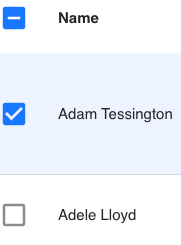
The left side of the roster contains selection checkboxes.
You can:
-
Select individual athletes.
-
Select every athlete currently displayed using the checkbox in the table header.
Selections can be used when exporting specific athletes from your roster.
Editing Athlete Information
Click the Pencil icon on any athlete row to edit their information.
From the edit window you can update:
-
First Name, Last Name, Teams, Groups, Gender, Class Year, Birth Date, Active Status
Changes are saved directly to the athlete's profile.
Managing Athlete Access
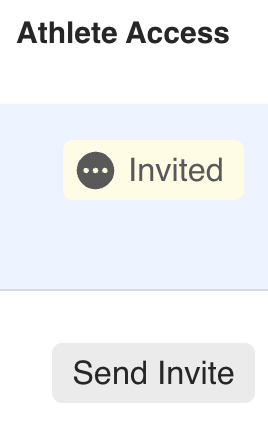
The Athlete Access column allows you to invite athletes to access their Tully account.
To invite an athlete:
-
Click the Athlete Access field.
-
Enter the athlete's email address.
-
Send the invitation.
Once accepted, the athlete will have access to their account.
Managing Parent Access
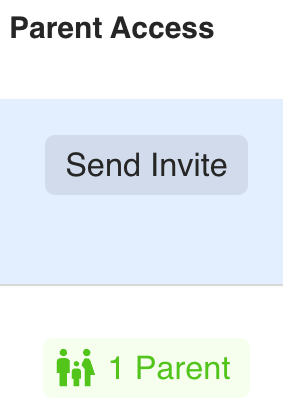
The Parent Access column allows parents to access their athlete's information.
To invite a parent:
-
Click the Parent Access field.
-
Enter the parent's email address.
-
Send the invitation.
The parent will receive an email invitation to create their account.
Activating and Deactivating Athletes
Athletes can be marked as either Active or Inactive.
There are two ways to update an athlete's status.
-
Option 1: Edit the Athlete
-
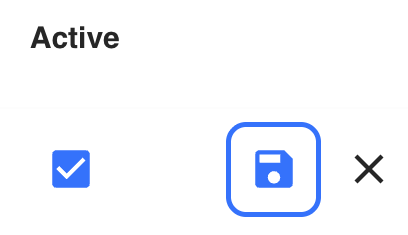
Click the Pencil icon and check or uncheck the Active status.
-
-
Option 2: Quick Toggle
-
Double-click the Active Status checkmark directly within the roster table.
-
Inactive athletes remain in your organization and can be viewed by enabling the Inactive filter.
Additional Athlete Options
Each athlete row includes an Ellipsis (...) menu with additional management options.
Available actions include:
-
Delete Athlete, Disassociate Athlete, Manage Parents
Delete Athlete
-
An athlete can only be deleted after they have been marked Inactive.
Disassociate Athlete
-
Disassociating removes the athlete from your organization while preserving their Tully account.
-
This option is only available for athletes who have accepted their Athlete Access invitation.
Manage Parents
-
Open the parent management window to view, add, edit, or remove parent accounts associated with an athlete.
Exporting Your Roster
The Roster page allows you to export either your entire roster or a customized selection of athletes and columns.
Step 1: Prepare Your Roster
Before exporting, configure the table to include exactly the athletes you want.
You can:
-
Apply filters to narrow the roster.
-
Select individual athletes using the checkboxes.
-
Leave all athletes unselected to export every athlete currently displayed.
Step 2: Configure Your Columns
Hover over any column header to reveal two options:
-
Sort - Sort the column in ascending or descending order.
-
Ellipsis (...) - Open additional column settings.
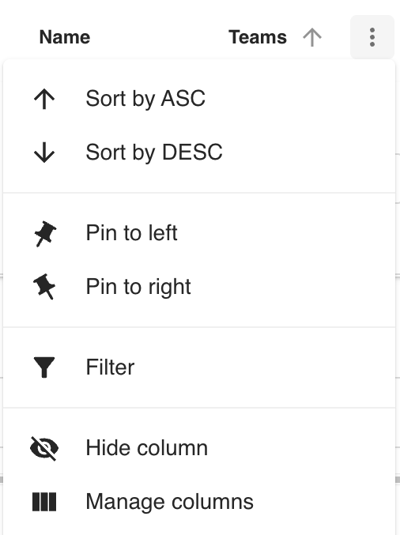
Selecting the Ellipsis menu provides the following options:
-
Sort Ascending, Sort Descending, Pin Left, Pin Right, Advanced Filtering, Hide Column, Manage Columns
Step 3: Manage Columns
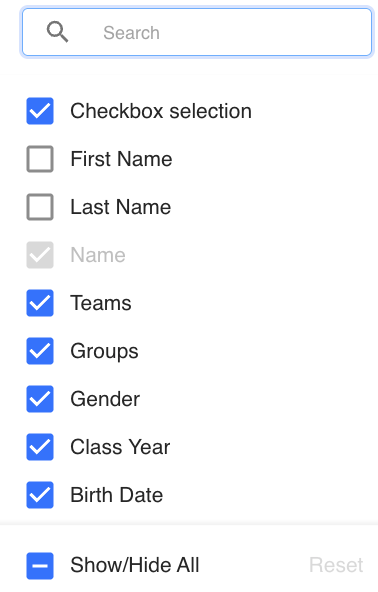
Select Manage Columns to choose exactly which fields are included in your export.
Available columns include:
-
Checkbox Selection, First Name, Last Name, Teams, Groups, Gender, Class Year, Birth Date, Athlete Access, Parent Access, Date Created, Age, Active Status, Delete
Enable or disable columns to customize your export.
Step 4: Export
Once your filters, selections, and columns are configured:
-
Click Export.
- Located in the top right of the table. Look for the blue arrow pointing down

-
A CSV file will be downloaded.
The export will include:
-
The athletes currently displayed in the table (or only the athletes you've selected).
-
Only the columns you've enabled through Manage Columns.
This allows you to quickly generate custom roster exports for reporting, communication, or record keeping.